![]()
Work Queue: Orders - Online Requests
When a patient utilizes the online scheduler to make an appointment, the system will not schedule the exam if there is more than one profile matching the information entered. These patients will show up on the Orders Work Queue, indicating that requested date and time was NOT scheduled. Patients on this list must be contacted to confirm we are scheduling the correct patient and proceed with scheduling.
- In Merge, click on the "Work Queue" tab
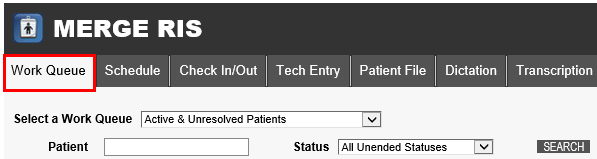
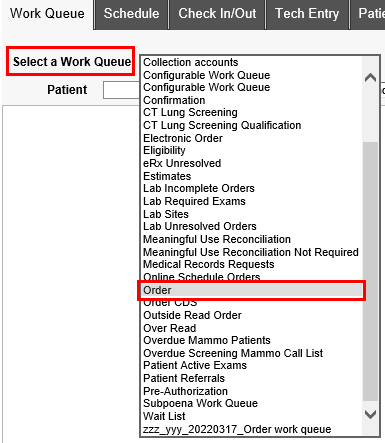
- From the Select a Work Queue dropdown, select Order
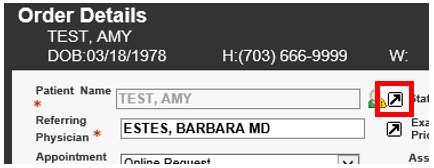
- ALL patients that needs to be associated with an existing jacket number will have an alert icon.
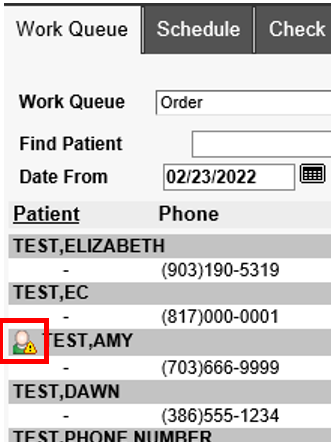
- This icon will appear for two different reasons
- Patient attempted to schedule via the online scheduler and was unsuccessful because there are multiple jacket numbers with matching patient information
- Electronic order has been received and did not associate to an existing MRN because there are multiple jacket numbers with matching patient information - THIS SCENARIO DOES NOT APPLY TO THIS WORKFLOW!
- This icon will appear for two different reasons
- Double-click on the white line item below the patient name to open the "Order Details" window
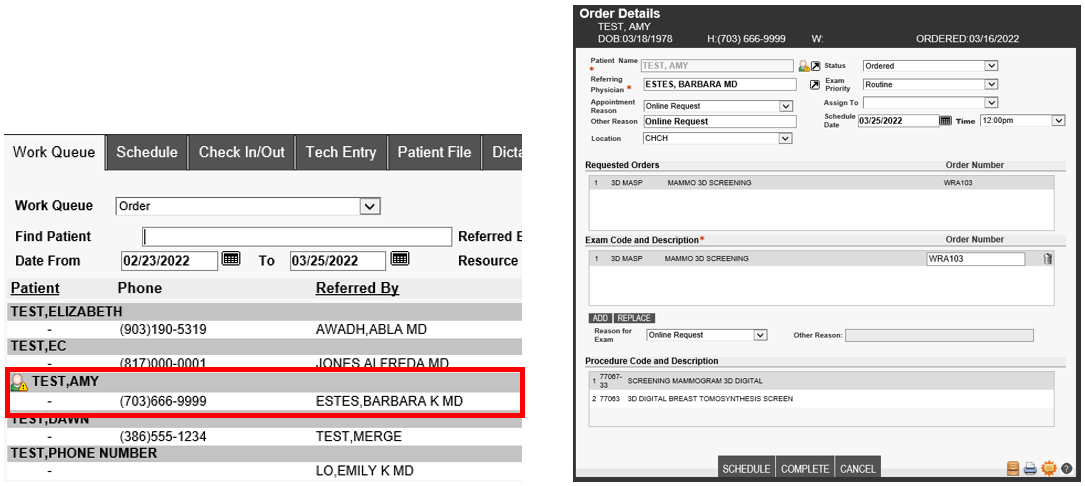
- To determine if the alert is present as a result of the online scheduler, review the Appointment Reason and Other Reason field. Patients who end up on the worklist as a result of the online scheduler will reflect "Online Request" in both of these fields.
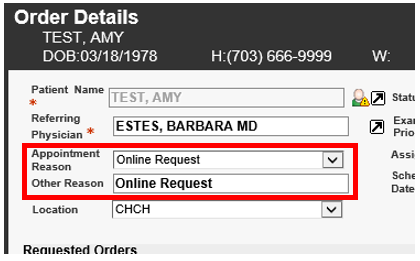
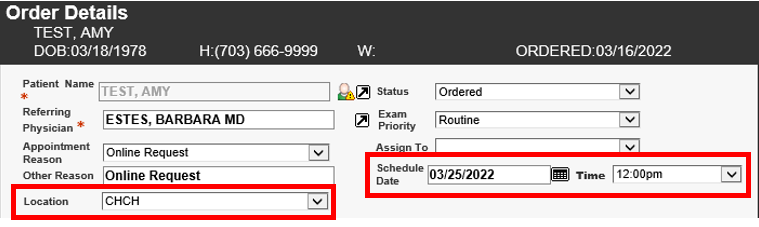
- These patients have not been scheduled, however, the location, date and time they selected will display for reference
- Click the arrow located to the right of the patient name and alert icon to open the Schedule: Patient Search window
- Potential matches will display under the Search Results portion of the window.
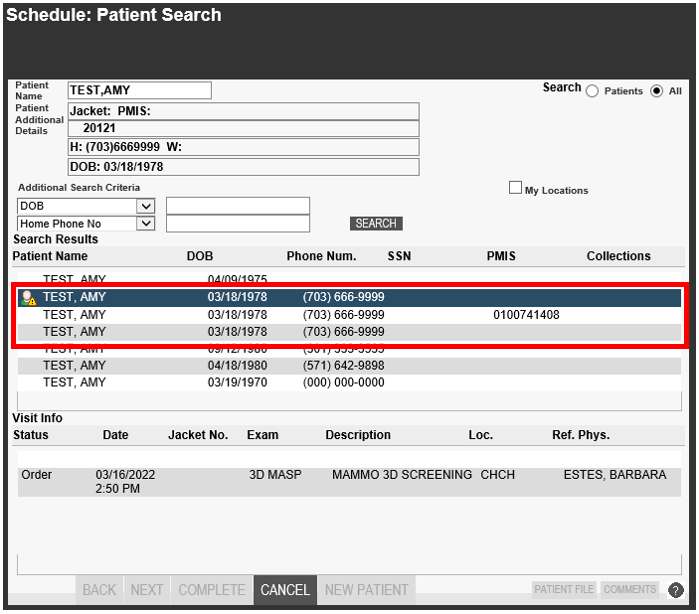
- Call the number listed at the top of the window to confirm further information with the patient so that we can appropriately associate them with an existing jacket number and schedule their exam.
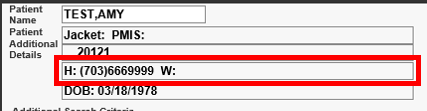
- If the patient answers, verify information to help determine which existing jacket number this patient should be associated to.
- Once you have identified the correct jacket number, double-click on the correct patient and this will return you to the Order Details window to complete the scheduling process.
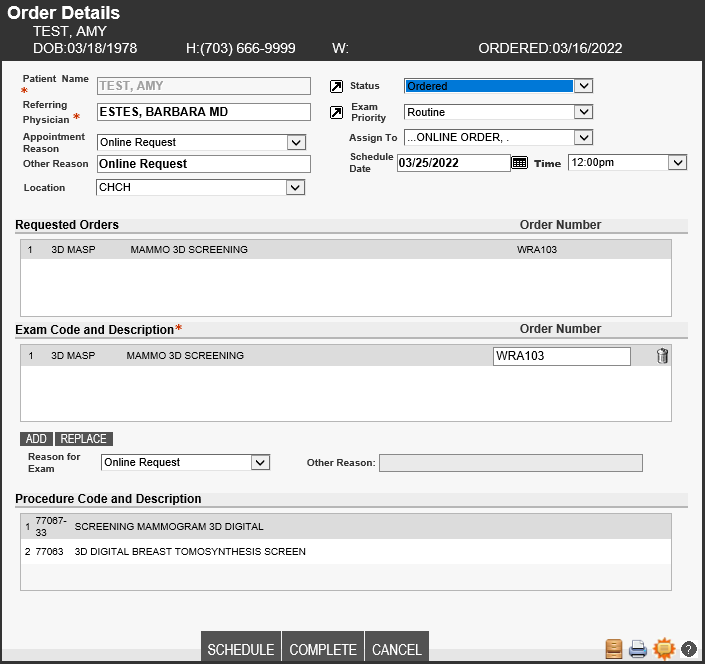
- Click Schedule

- The Schedule: Appointment Book window will open with the location, date and time that was originally requested by the patient. Confirm that the patient would still like to schedule with those specification. If the original date/time is no longer available, please offer other options.
- Complete the scheduling process and add notes that patient was contacted due to a failed online scheduling request and exam has been scheduled, along with typical documentation required when scheduling an exam
- Example: OLR FAILED - CALLED PT TO CONF AND SCHED - PT AWARE OF PREP - ADVISED TO BRING ORDER/ID/INS
- Example: OLR FAILED - CALLED PT TO CONF AND SCHED - PT AWARE OF PREP - ADVISED TO BRING ORDER/ID/INS
- Once you have identified the correct jacket number, double-click on the correct patient and this will return you to the Order Details window to complete the scheduling process.
- If the patient does not answer:
- From the Schedule: Patient Search window, click Cancel to return to the Order Details window

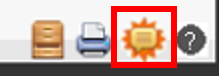
- From the Order Details window, click the Comments icon to add notes
- The Patient Files: Comments window will populate, add notes that an attempt was made to reach patient due to a failed online request, along with the outcome.
- Example: CALLED PT TO CONF INFO/SCHED EXAM DUE TO FAILED OLR - NO ANSWER - LVM
- Example: CALLED PT TO CONF INFO/SCHED EXAM DUE TO FAILED OLR - NO ANSWER - LVM
- Navigate to the Schedule tab, search for patient by name and date of birth and add an additional note to the existing jacket number matching patient information so that agents on the inbound queue will be able to complete scheduling when the patient returns the call
- Example: PT ATTEMPTED TO SCHED VIA OLR - REQ 03/25/22 12PM CHCH - LVM
- From the Schedule: Patient Search window, click Cancel to return to the Order Details window
- If the patient answers, verify information to help determine which existing jacket number this patient should be associated to.


EDITED: 03/25/2022
