![]()
Merge - Reschedule Exam
The purpose of this document is to provide instructions for rescheduling an exam through the Merge RIS system.
- Search for and select patient in Merge
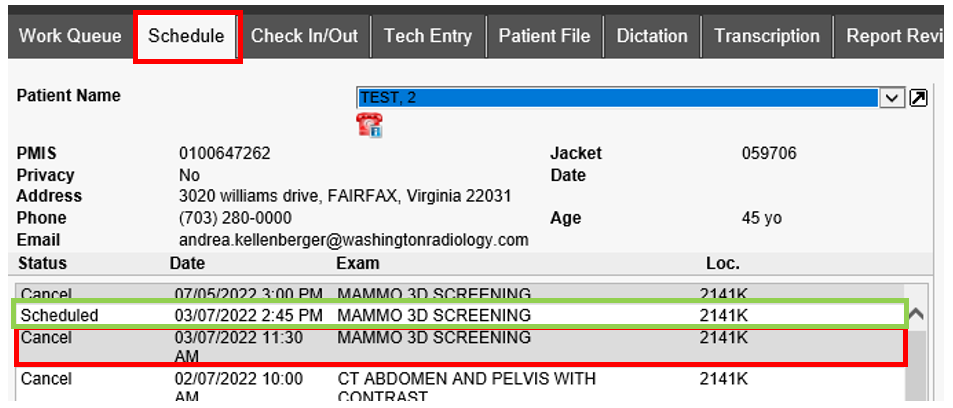
- Start on the Schedule Tab:
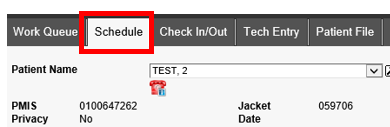
- Select/highlight the appointment that needs to be rescheduled
NOTE: This can be either a future scheduled appointment OR a recently canceled appointment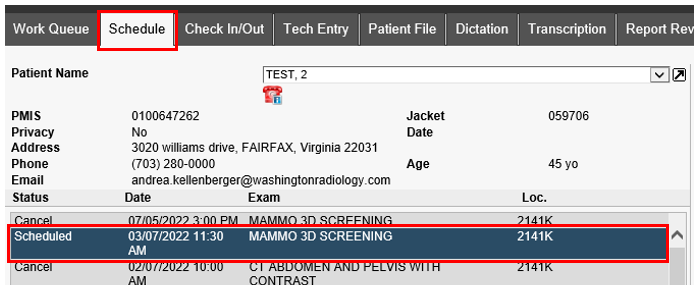
- Click RESCHEDULE

- Reason window will populate - select according to reason provided by caller OR select "Reschedule" if no reason is provided
NOTE: DO NOT TYPE ANYTHING IN THE FREEFORM BOX ON THIS WINDOW
- Click COMPLETE
- The following information will already be populated based on the original scheduled appointment - only update if necessary
- Physician
- Location
- Insurances
- Appointment Reason
- Exam Code/Description
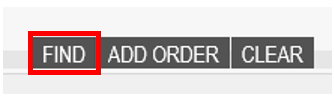
- Click FIND to search for a new date and time
- Patient Information: Questionnaire will display and will already be completed based on the original scheduled appointment, click COMPLETE
NOTE: Not required to reconfirm questionnaire responses when rescheduling a patient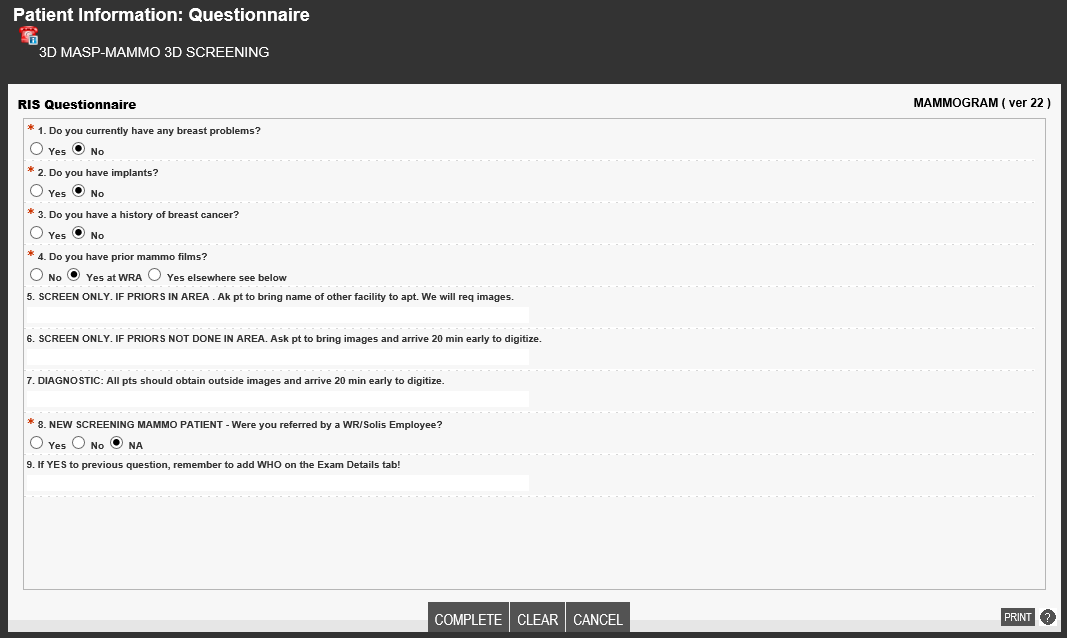
- The Schedule: Appointment Book window will populate
- Use the arrows on either side of the date to move forward or backward by one day
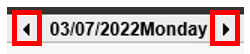
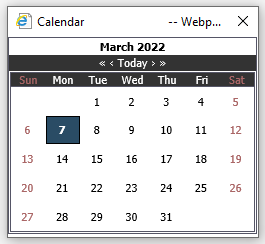
- Use the calendar icon to jump to a specific date - NOTE: Single arrow on either side of "Today" will move calendar back or forward by one month, double arrow will move calendar back or forward by one year

- Use the arrows on either side of the date to move forward or backward by one day
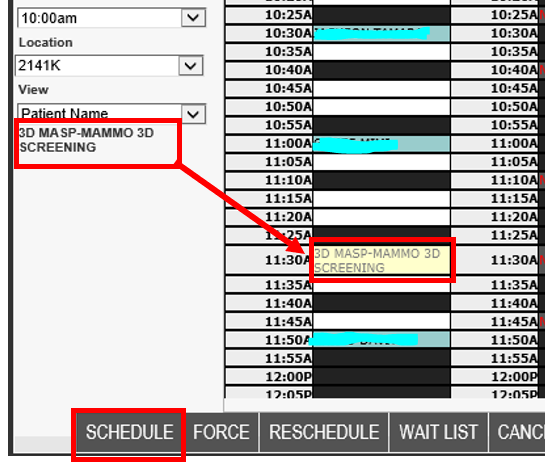
- Drag and drop the exam to the requested date and time slot, then click SCHEDULE
- The Schedule: Confirmation window will populate
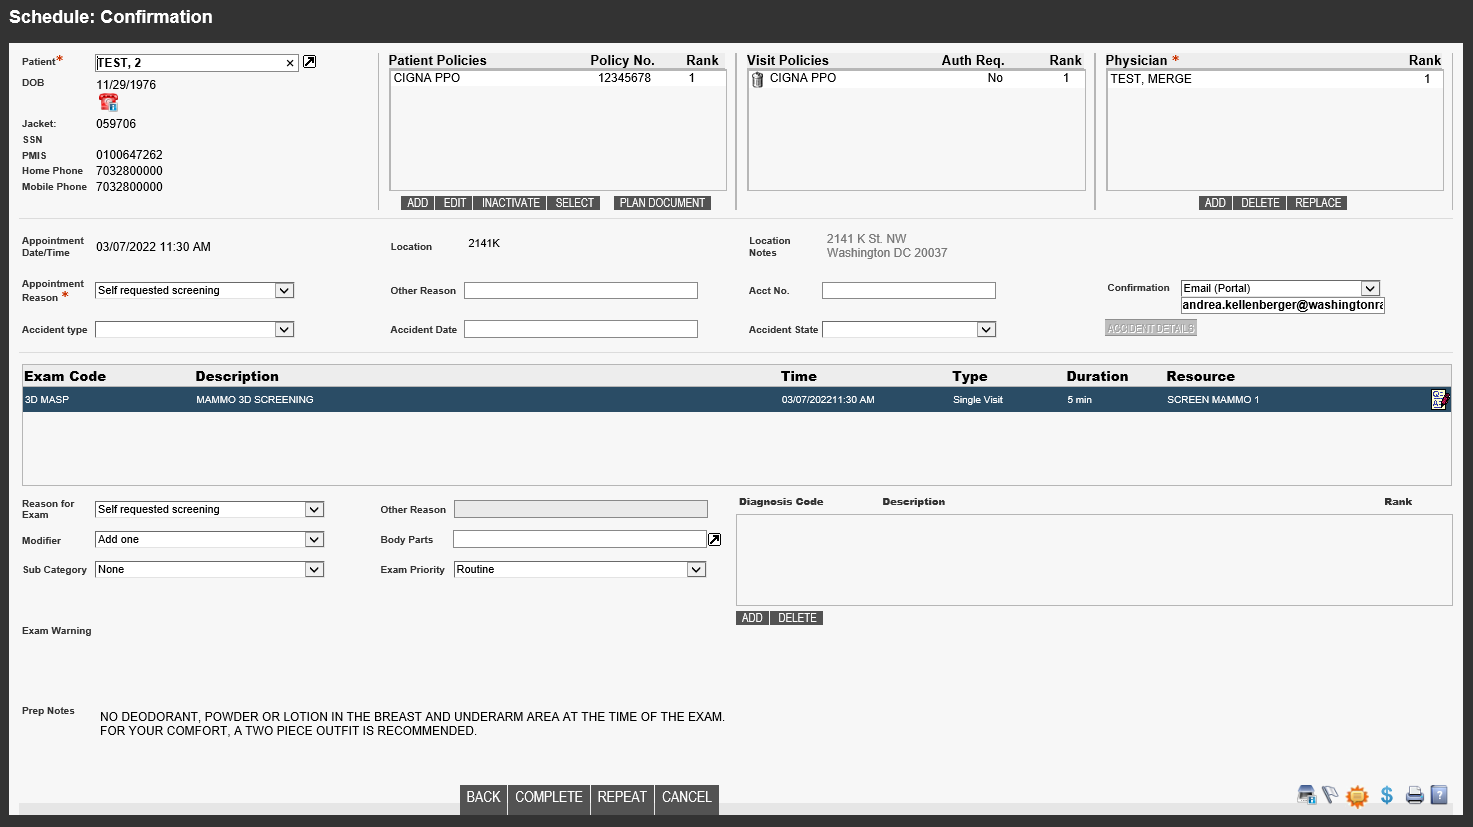
- Provide appointment confirmation
- Confirm the new date, time and location of appointment(s) - Offer Center address
- Offer prep instructions
- Remind patient to bring their photo ID, insurance card(s) and their written order
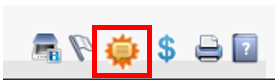
- Add Notes/Comments by clicking on the Comments icon located in the lower left-hand corner of the screen
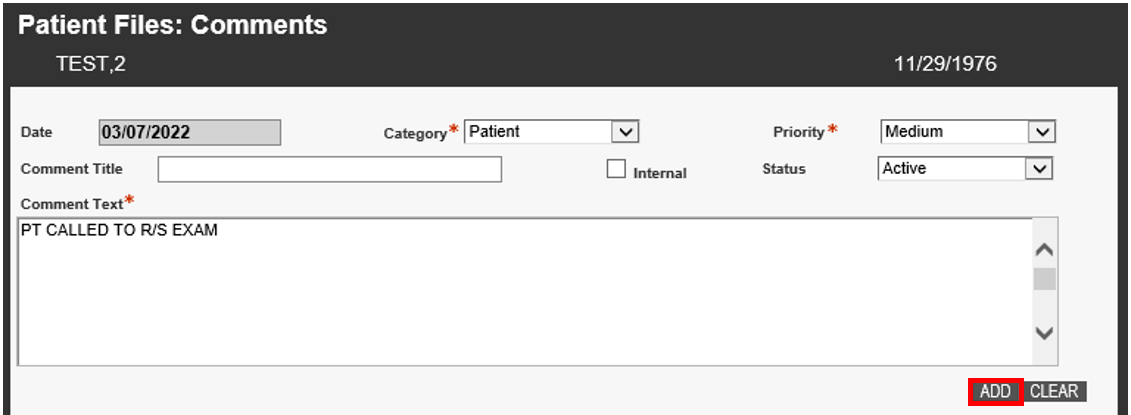
- The Patient Files: Comments window will populate - Add notes to the Comment Text field and click ADD
 Confirm notes were added to the bottom portion of the screen and click CLOSE
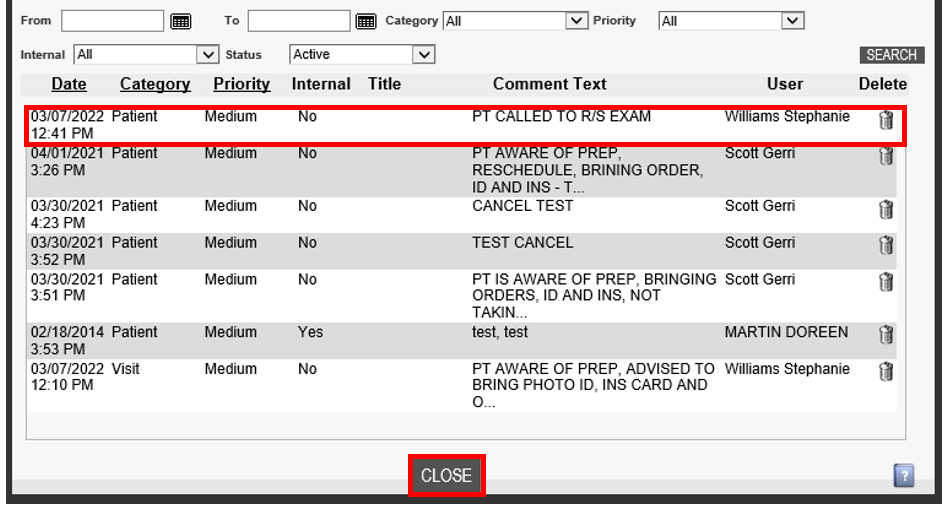
- If necessary Add/Remove patient flags by clicking on the Patient Flag icon
- Click COMPLETE to finish scheduling

- The Schedule Tab will display again, with the original appointment canceled and the new appointment scheduled


 Confirm notes were added to the bottom portion of the screen and click CLOSE


EDITED: 03/07/2022
