
Scheduling an Existing Patient (Single or Multiple Exams)
Purpose: To guide agents through accurately searching for an existing patient and scheduling either a singe exam or multiple exams in eRAD.
Step 1: Open the Patient Folder
- Use the search function in eRAD to locate and open the correct Patient Folder.
- Always search first to avoid creating duplicate records and to view the patient's history.
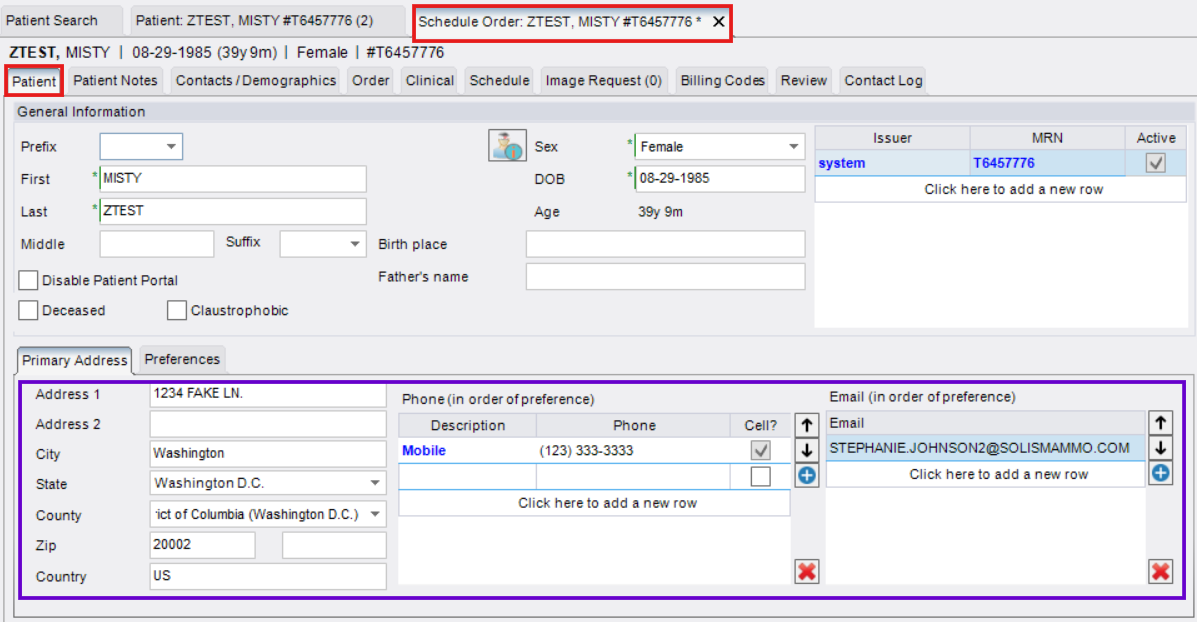
Step 2: Confirm/Update Patient Contact Information
- Click the New Appointment button from the toolbar to open the Schedule Order Tab

- Review/Update patient contact information on the Order Tab


Step 3: Complete the Schedule Tab
- Navigate to the Schedule Tab

- Add Study (Exam Type):
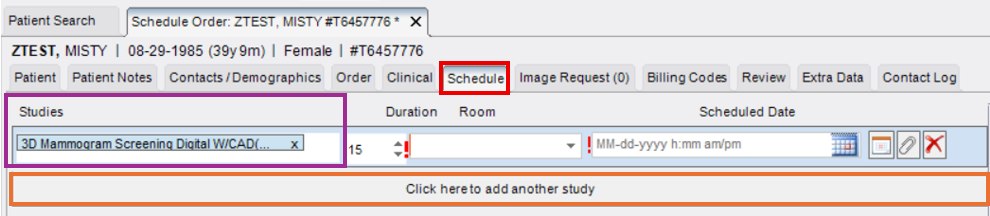
- In the Studies box, type the exam name (list will filter as you type) Select the correct exam.
- If Laterality is required, select from the dropdown.
- For multiple exams:
- Click "Click here to add another study"
- Follow the above steps to search for and select the additional exam(s)
- IMPORTANT: Exams will schedule in the order they appear:
- Top exam = scheduled first
- Subsequent exams follow
- Set Appointment Preferences:
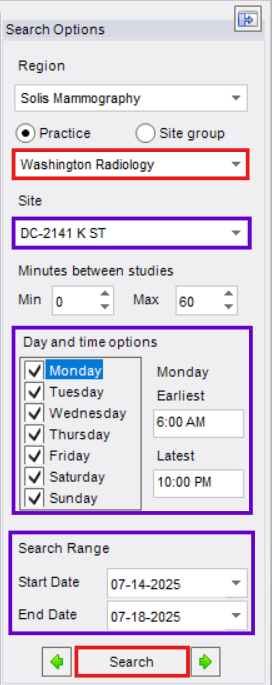
- Region: Solis Mammography
- Practice: Washington Radiology
- Site: Select the location where the patient would like to be seen
DO NOT select Progressive Radiology (PR) locations - Day and time options: Select preferred days of the week or times of day
- Search Range: Search anywhere from 1-30 days at a time
- Click [Search]
- Appointment Times:
- Summary Tab: Shows first AM, mid-AM, PM, mid-PM, etc.
- Details Tab: Shows ALL available appointment slots
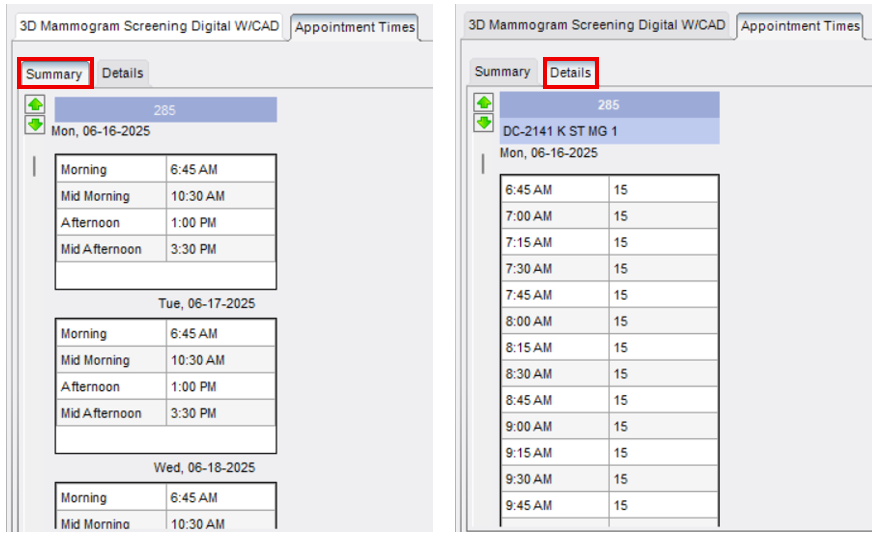
- Click on the desired time once to select (it will highlight blue)
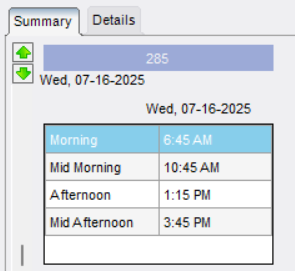
- Appointment details will appear in the top pane

- Add Study (Exam Type):


Step 4: Complete Exam Questionnaire (if applicable; if no questionnaire, skip to Step 5)
- Navigate to the Exam Questionnaire (if applicable)
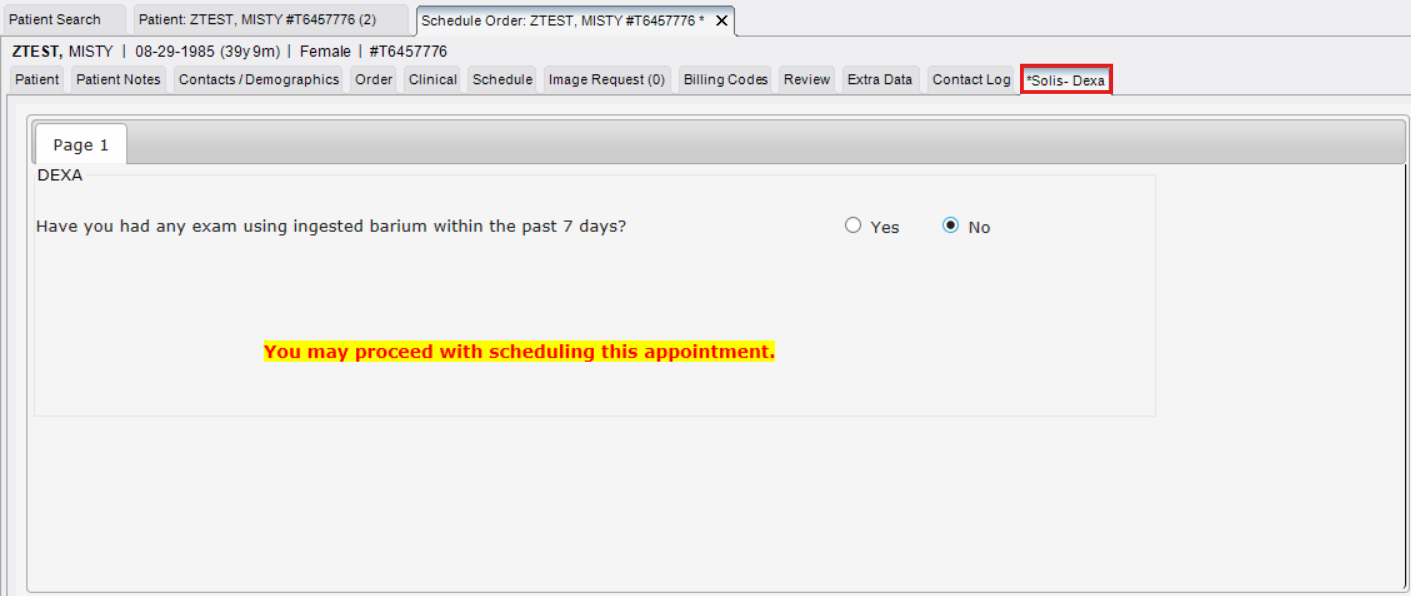
- Ask the patient the required questions
- Accurately enter their responses into eRAD
- You must complete the questionnaire before proceeding.
- You cannot save or finalize without entering questionnaire responses when required.

Step 5: Complete the Order Tab
- Navigate to the Order Tab

- Complete all required fields:
- Reason for Order
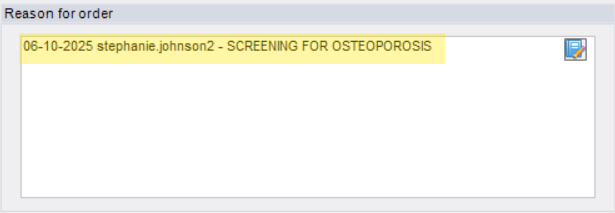
- Select from the dropdown or free-type if reason is not listed in dropdown options
- Select from the dropdown or free-type if reason is not listed in dropdown options
- Referring Details
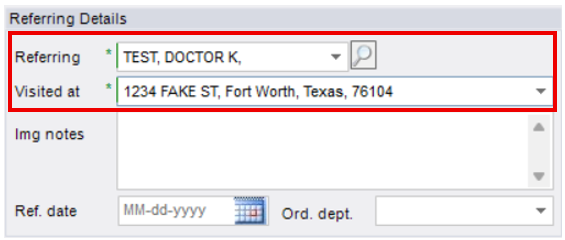
- Add the referring providers name
- Confirm a portion of the providers address to assure confidential reports are sent to the intended office
- Urgency Level (Order Status)
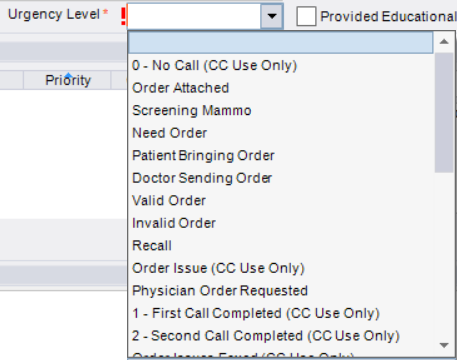
- Choose based on whether an order is provide or pending (e.g., Order Attached, Need Order, etc.)
- Choose based on whether an order is provide or pending (e.g., Order Attached, Need Order, etc.)
- Class (Prior Imaging Status)
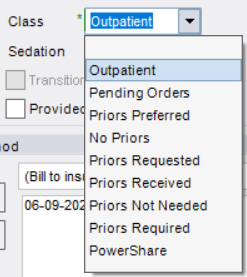
- Select the appropriate Class based on whether outside related imaging is necessary for comparison purposes
- Select the appropriate Class based on whether outside related imaging is necessary for comparison purposes
- Manage Policies/Billing Method

- Click [Manage Policies] to add payor information (insurance, non-profit, etc.), OR
- Change dropdown under "Billing Method" to convert patient to self-pay if insurance is not available.
- Order Notes
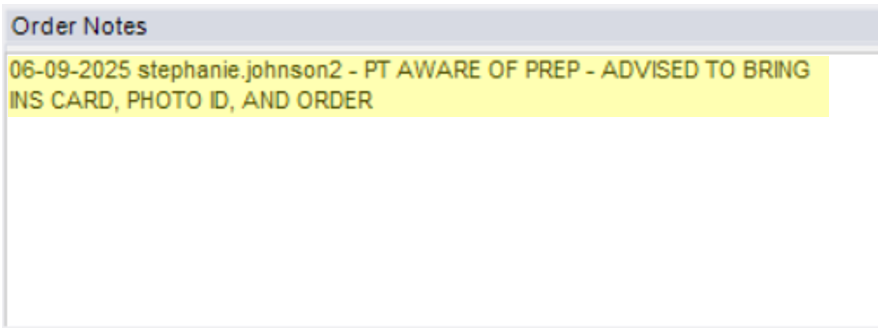
- Add notes related to the exam
- "PT AWARE OF PREP - ADVISED TO BRING INS CARD, PHOTO ID, AND ORDER TO EXAM"
- Add notes related to the exam
- Reason for Order
- Complete all required fields:


Step 6: Finalize & Confirm Appointment
- Click [Schedule] in the bottom right

- Do not click [Save as Order] or [Close] - doing so will not save the appointment

Step 8: Schedule Summary (Confirmation Screen)
Before finalizing, confirm:
- Exam type(s)
- Scheduled date and time
- Center name
- Offer address
- Prep Instructions
- Check the "Prep Instructions Reviewed" box
- Click [Schedule] to complete
- Click [Modify] if you need to make changes to date, time, exam type, etc.
EDITED: 06/10/2025
