
Creating a New Patient without Scheduling an Exam
Purpose: Creating a new patient profile in eRAD should only occur after confirming the patient does not already exist in the system. Follow the step below to ensure proper search and accuracy of capturing patient information. This method will allow you to save new patient demographics and contact information without scheduling an exam.
Step 1: Exhaust All Search Options
Before creating a new Patient Folder, search using multiple combinations of the following:
- First Name + Last Name (partial name can be used, first few letters of name)
- Date of Birth
- Phone Number
- Medical Record Number (MRN - formerly known as Jacket Number)
- Accession Number (also known as confirmation number)

Only create a new patient profile if the patient is NOT found after exhausting all search options.
Step 2: Begin New Patient Entry
Click the dropdown next to [New Patient/New Appointment] and select "New Patient"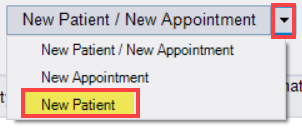
Step 3: Complete the Patient Tab
The Schedule Order Tab will open, displaying the Patient tab. Enter demographic information in ALL CAPS using the patient's legal name (as shown on their driver's license or government-issued photo ID):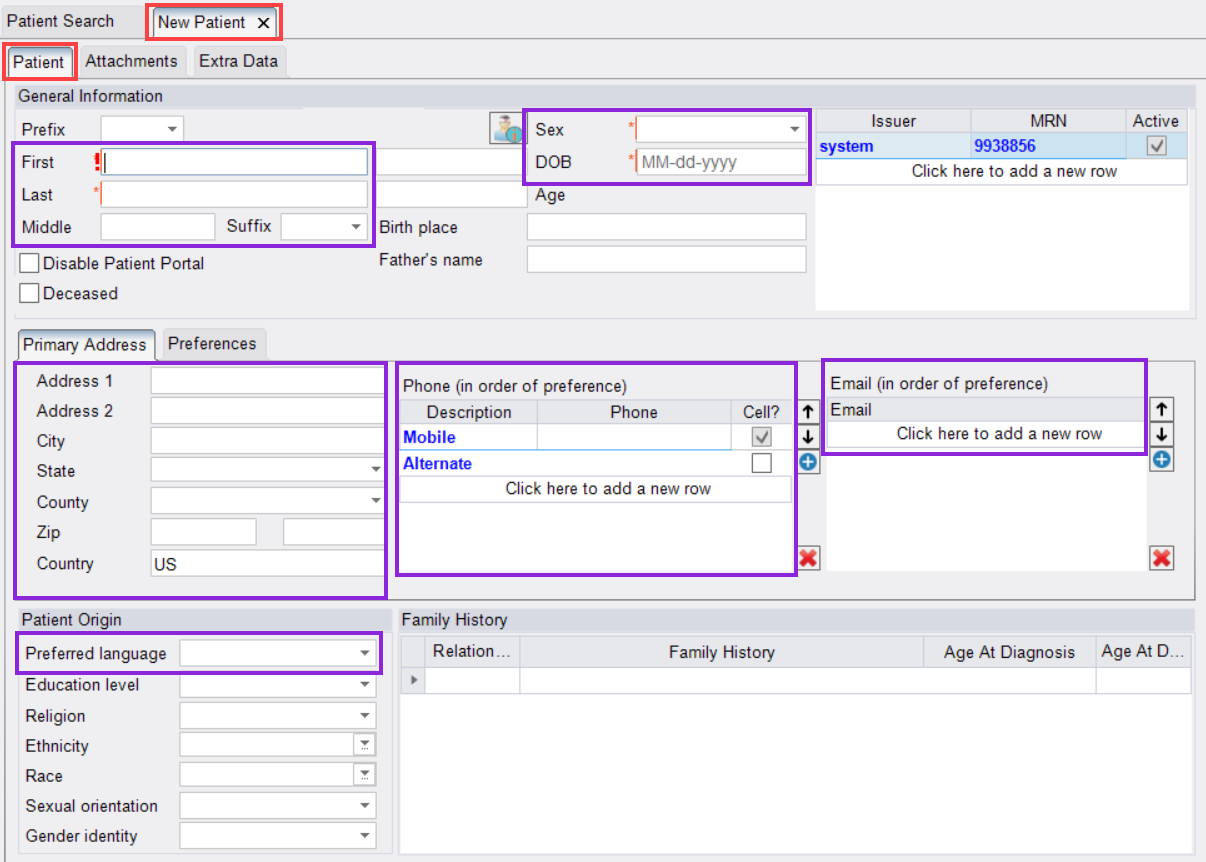
- First Name
- Last Name
- Sex/Gender
- Date of Birth
- Address (typing the zip code into the appropriate field will auto-populate the City, State, and County)
- Phone number (specify mobile)
- Email Address
- Preferred Language (if not English)
Best Practice: Verbally verify all information by reading it back to the patient for accuracy.
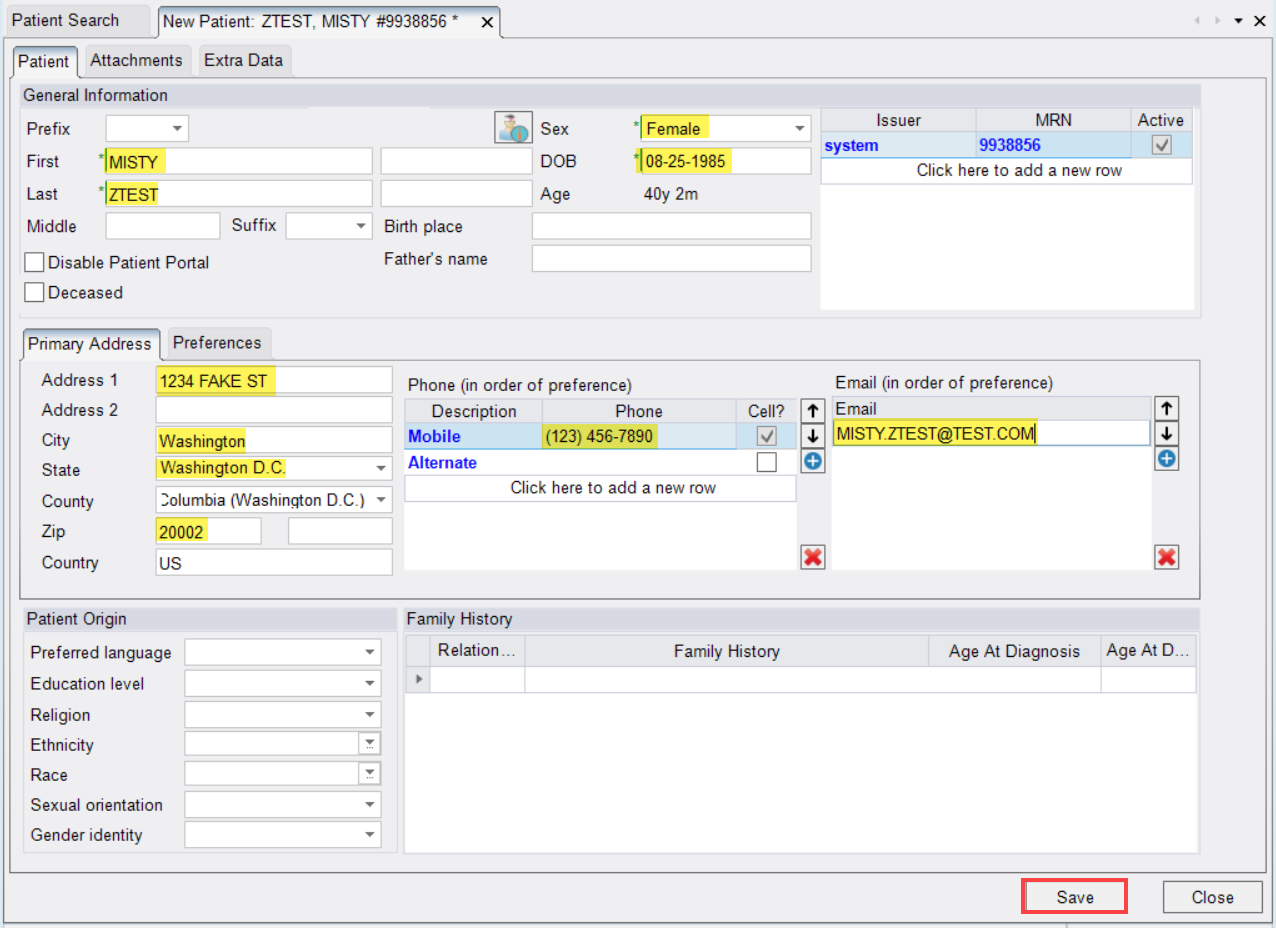
Step 4: Save Patient Information
- Once all information has been captured, click [Save] (lower-right corner)

EDITED: 10/29/2025
