
Sending a SecurePIC Request in eRAD
This guide provides step-by-step instructions for sending a SecurePIC Request to a patient, and explains when and why it should be used.
When Should You Send a SecurePIC Request?
- Send a SecurePIC request when:
- The patient has a written order but will bring it with them to their appointment.
- The patient does not have their insurance card for confirmation at the time of scheduling.
Why Send a Request if the Patient Has the Order?
- It ensures a copy is on file in case the patient forgets to loses it.
- Prevents reschedules due to missing documentation.
- Can be used after an appointment is scheduled if the patient didn't have their order during the initial call.
How to Send a SecurePIC Request
- You can send a request while:
- Scheduling a new appointment (new accession or ordered accession)
- Editing an existing scheduled appointment
Step 1: Open the Patient Folder
- Use the search function in eRAD to locate and open the correct Patient Folder
Step 2A: If Scheduling a New Appointment
- Click the [New Appointment] button from the toolbar in eRAD.

- The Schedule Order tab will open


Step 2B: if Scheduling from an Ordered Accession
- Locate the appointment in the Patient Folder.

- Right-click on the accession that requires the document, select "Schedule"
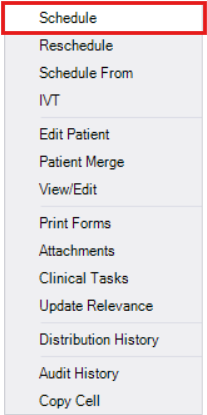
- The Schedule Order tab will open.


Step 2C: If Editing an Existing Appointment
- Locate the appointment in the Patient Folder.

- Right-click the exam, select "View/Edit".
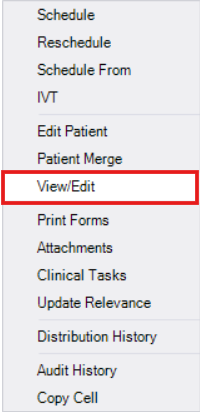
- The View/Edit tab will open


Step 3: Send the SecurePIC Request
- From any tab in the Schedule Order or View/Edit window:
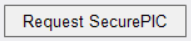
- Locate the SecurePIC button in the bottom-left corner.
- Click Request SecurePIC to open the request window.

Step 4: Important Settings to Update


- Before sending, always review the following fields:
- To: Confirm the correct patient name is listed
- Make the appropriate selection:
- SMS - Confirm the number listed (this cannot be changed)
- Email - Confirm the email address listed (this cannot be changed)
- "Requested Document" Field - Choose from the following depending on what is needed from the patient:
- Insurance Card
- Physician Order
Step 5: Send the SecurePIC Link
- Click [Send]

- A text or email will be sent to the patient with instructions to securely upload the requested document.

EDITED: 06/11/2025
