
Contact Center
Scheduling in eRAD RIS
Existing Patient - New Exam - Single Exam
When scheduling a patient, it is always best practice to search for the patient in the system first. This will help to identify whether the patient is existing or new and can provide the details of the patient’s history.
- Search for the patient using the search bar in the top right corner
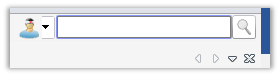
- Search by Date of Birth
- 2 digit month/2 digit day/four digit year
- Ex: 07/08/1960 or 07-08-1960
- Search by Date of Birth
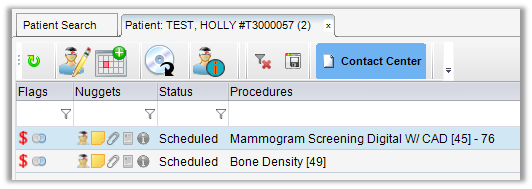
- Results for search will display

- Double click on correct matching patient
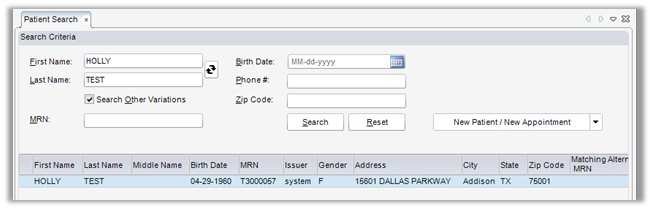
- The patient’s exam history will display

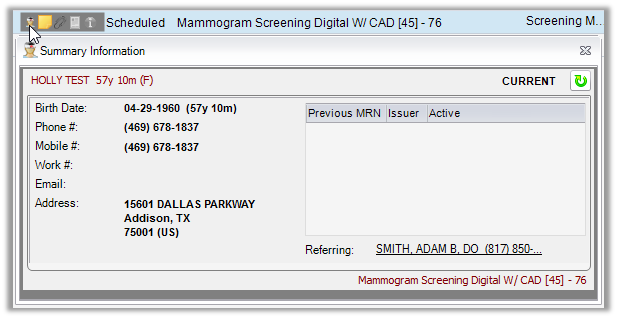
- To review demographics, click on the Summary Nugget (person)
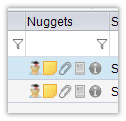
- Patient’s demographic summary will display
- If needing to edit existing demographics, click on the Edit Patient (person with pencil) icon
- The “Patient Tab” will open to allow updates and “Save”
- Review the patient history before scheduling exam
- To schedule, click on the calendar icon

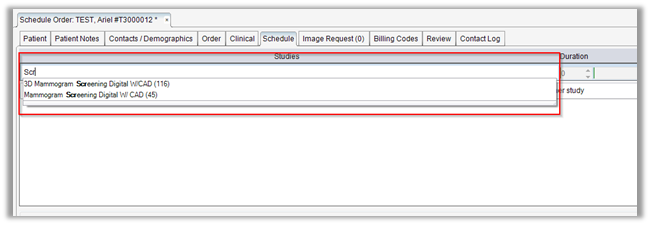
- The “Scheduling Order Tab” will open

- On the Scheduling Tab,
- Search for the exam you are needing to schedule by typing the exam.
- The search tool will begin to narrow down the list of exams.
- Click on the appropriate exam type (with mouse click or by hitting enter)
- Use the Search Options to select Location, Date, and Time of exam:
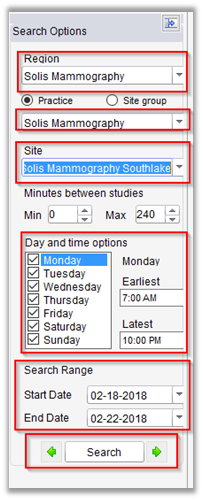
- Select a Region (Solis Mammography or Washington Radiology)
- Select a Practice (Region)
- Select a Site (Center)
- Select the day and time options according to the patient’s preferences. (Not required to use all search options)
- Check or uncheck days of the week
- Enter Earliest and Latest time range
- Enter date range to search
- Choose the Search Range according to the patient’s preferences
- Click “Search"
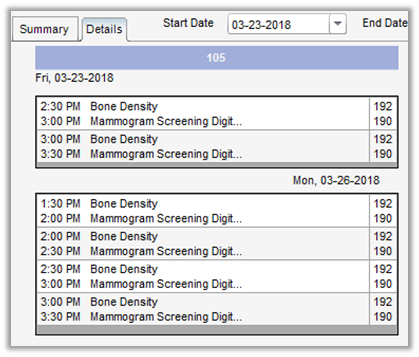
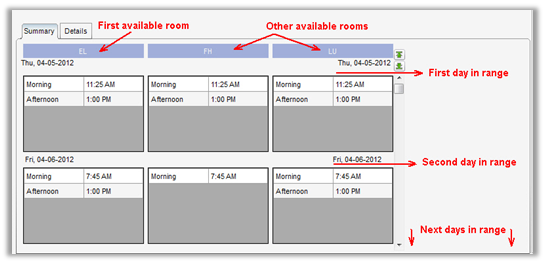
- Two Search Functions are available:
- Summary Tab – Shows the earliest available search match in the morning, mid-morning, afternoon, and mid-afternoon
- Details Tab – Shows every search match available
DO NOT SCHEDULE IN YELLOW SLOTS! THESE ARE BLOCKED AND NOT TO BE USED
- To select a time slot, click on the time ONCE
- The scheduled date will display the exam date and time in the top pane
- If the box around time is red, click time slot requested again (once)

- To delete an appointment, select the red X

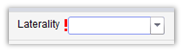
- For Mammograms, select the Laterality from the drop-down list (middle of page)
- Click on the “Order Tab”
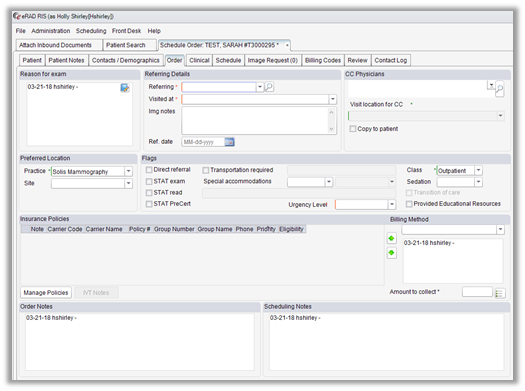
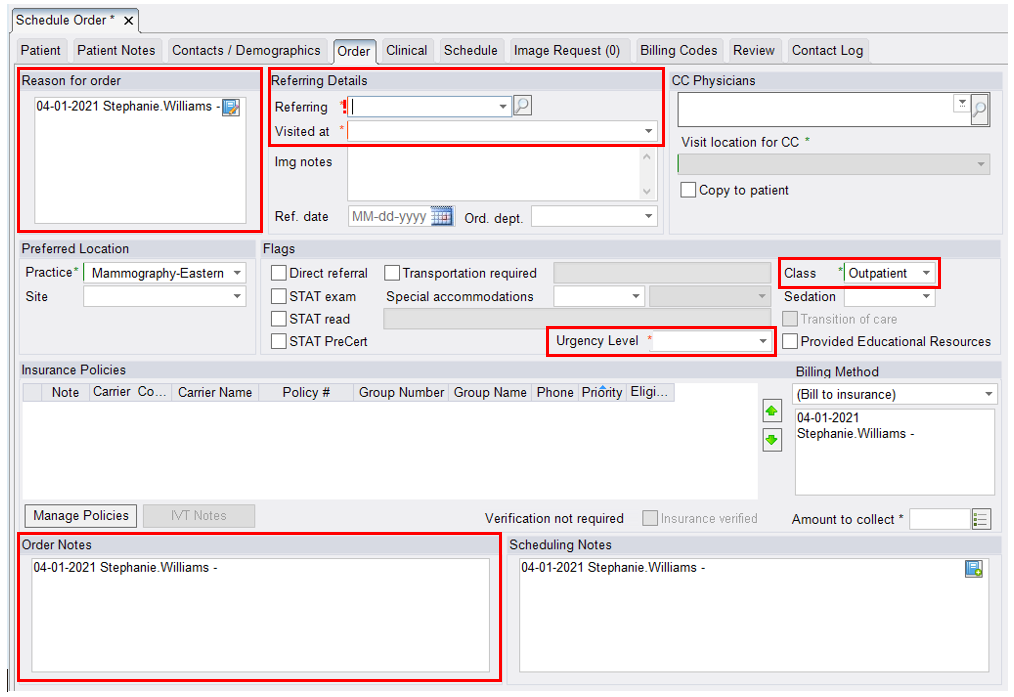
- On the “Order Tab”, add the order detailed information.
- Reason for Order - If already listed, DO NOT UPDATED! If this field is blank, select from the Auto-text options listed. Then copy and paste into Order Notes.
- Referring Physician Details - search for the referring physician by name [last name, first name] and click the magnifying glass. Confirm the appropriate physician by stating the address in the Primary Office field. CC Physician- If requesting to add additional physicians, add into this section.
- Class – This is for the Contact Center to update if prior films are required or not.
- Urgency Level – This represents the call and/or order status for the exam (Priority Status)
- Manage Policies – This is where patient insurance information (Carrier and Policy #) will be captured
- Order Notes – This is for the Contact Center only! Add any notes that were collected on the call from the patient at the time of scheduling
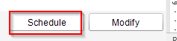
- Once all appointment information has been entered, click “Schedule” at the bottom right side of the screen.
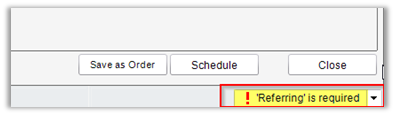
- If any information is missing, a red exclamation will appear at the right bottom side of the page with the appointment errors. All errors must be correct before scheduling. If an there is an error the bottom right side of the screen will display the error.
- The “Schedule Summary” will populate with the patient’s appointment confirmation details and Prep Instructions.
- Recite the exams, exam date/time, and center address to the patient.
- Provide the prep instructions for all exams scheduled
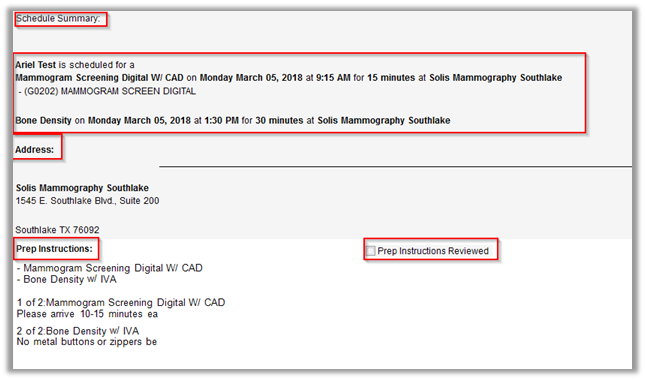
- Once the prep instructions have been provided to the patient, check the “Prep instructions reviewed”
- Then select “Schedule” – AT THIS POINT EXAM HAS BEEN SCHEDULED


EDITED: 04/02/2021
